Smartphones have become an integral part of our daily lives, and we rely on them for everything from communication and navigation to entertainment and productivity. However, despite their convenience and sophistication, these pocket-sized devices are not invincible. Over time, they may experience issues like a cracked screen, malfunctioning battery, or charging problems. While many users turn to professional cell phone repair services, understanding the inner workings of your smartphone can empower you to tackle certain repairs yourself. In this comprehensive guide, we’ll explore the inner components of a smartphone and provide valuable insights into common issues and DIY repair techniques.
The Basic Components of a Smartphone
Before delving into smartphone repair, it’s essential to familiarize yourself with the primary components that make up these devices. Here are the key components you’ll encounter:
1. Motherboard (Logic Board)
The motherboard serves as the brain of your smartphone, containing the central processing unit (CPU), memory (RAM), storage (e.g., flash memory), and various integrated circuits. It orchestrates all the functions of your device.
2. Display and Touchscreen
The display, often an LCD or OLED panel, provides the visual interface for your smartphone. It’s paired with a touchscreen sensor that enables touch input.
3. Battery
The battery stores and provides power to your smartphone. It’s typically a lithium-ion or lithium-polymer battery that can degrade over time, affecting battery life.
4. Cameras
Modern smartphones feature multiple cameras for photography and video recording. These cameras consist of lenses, sensors, and image processing components.
5. Audio Components
This category includes the speaker, microphone, and audio processing hardware responsible for call quality, audio playback, and recording.
6. Connectivity Modules
Wi-Fi, Bluetooth, and cellular radios allow your smartphone to connect to networks and other devices. GPS and NFC (Near Field Communication) are also common connectivity modules.
7. Sensors
Sensors like accelerometers, gyroscopes, proximity sensors, and ambient light sensors enable various features such as screen rotation, motion detection, and automatic brightness adjustment.
8. Buttons and Ports
Your smartphone may have physical buttons (e.g., power, volume) and ports (e.g., charging port, headphone jack) for user interaction and connectivity.
9. Housing and Chassis
The housing and chassis provide structural integrity and protection for the internal components. They’re typically made of materials like glass, metal, or plastic.
Common Smartphone Issues and DIY Repair Techniques
Now that you have a basic understanding of a smartphone’s components, let’s explore some common issues and DIY repair techniques you can use to address them:
1. Cracked or Damaged Screen
Issue: A cracked or damaged screen is one of the most common smartphone problems.
DIY Repair Technique:
- Replacement: Replacing a cracked screen is a complex but manageable DIY repair. It involves disassembling the device, removing the old screen, and installing a new one. You’ll need a replacement screen, adhesive, screwdrivers, and patience. Follow step-by-step guides or video tutorials specific to your phone model.
2. Malfunctioning Battery
Issue: Over time, smartphone batteries can degrade, resulting in shorter battery life or sudden shutdowns.
DIY Repair Technique:
- Battery Replacement: Replacing a smartphone battery can breathe new life into your device. First, power off the phone and safely remove the old battery. Then, install a new battery compatible with your phone model. Pay attention to safety precautions, as lithium-ion batteries can be hazardous if mishandled.
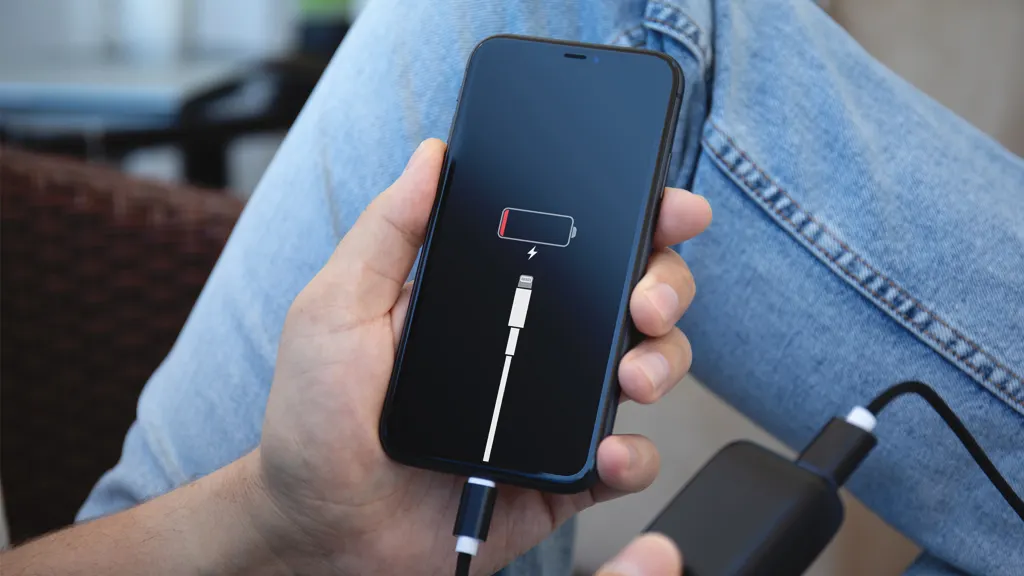
3. Charging Issues
Issue: Charging problems can manifest as slow charging, no charging, or intermittent charging.
DIY Repair Techniques:
- Port Cleaning: Dust, lint, and debris can accumulate in the charging port, obstructing the connection. Use a soft brush or compressed air to clean the port carefully.
- Cable and Adapter Check: Ensure that the charging cable and adapter are in good condition. Sometimes, replacing a worn-out cable or adapter can resolve charging problems.
- Battery Calibration: Occasionally, calibrating your battery by fully discharging and then fully charging it can help with charging accuracy.
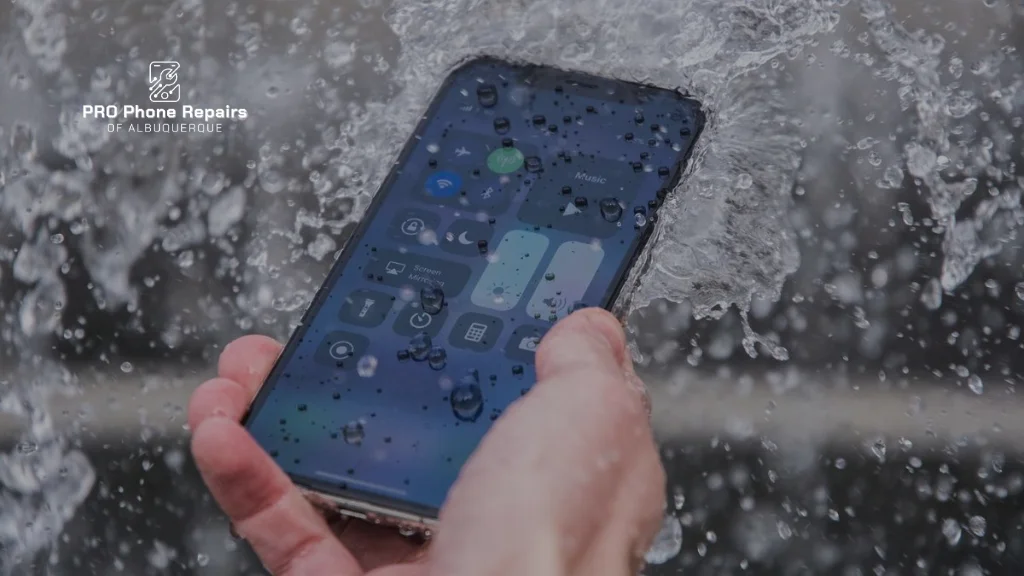
4. Water Damage
Issue: Accidental exposure to water can lead to various issues, including display problems, audio malfunctions, and more.
DIY Repair Technique:
- Immediate Steps: If your phone gets wet, turn it off immediately, remove the battery (if possible), and place it in a bag of uncooked rice or silica gel to absorb moisture. Do not attempt to charge or turn on the phone until it’s completely dry.
- Cleaning: If your phone shows signs of water damage, you may need to open it and clean the internal components with isopropyl alcohol. This should be done cautiously and only if you’re comfortable with disassembly.
5. Camera Problems
Issue: Camera issues can include blurry photos, a malfunctioning front or rear camera, or error messages.
DIY Repair Techniques:
- Cleaning: Sometimes, camera issues can be resolved by cleaning the camera lens and sensor with a microfiber cloth. Avoid using abrasive materials that could scratch the lens.
- Replacement: If cleaning doesn’t work, you can replace a malfunctioning camera module. This typically involves opening the phone and disconnecting and reconnecting the camera module.
6. Speaker or Audio Problems
Issue: Audio issues can range from distorted sound to complete loss of audio output.
DIY Repair Techniques:
- Cleaning: Dirt or debris can obstruct the speaker or microphone. Use compressed air or a soft brush to clean these components.
- Component Replacement: If cleaning doesn’t resolve the issue, you may need to replace the speaker, microphone, or other audio-related components. This often requires disassembly of the device.
7. Connectivity Issues
Issue: Connectivity problems can include Wi-Fi or Bluetooth connection failures, poor cellular signal, or GPS inaccuracies.
DIY Repair Techniques:
- Reset Network Settings: Start by resetting network settings on your phone, which can often resolve connectivity issues.
- Antenna Inspection: Sometimes, poor connectivity is caused by damaged or disconnected antennas. Inspect the antenna connections and cables and ensure they are secure.
8. Button or Port Problems
Issue: Physical buttons may become unresponsive, and ports (e.g., charging, headphone) can wear out.
DIY Repair Techniques:
- Cleaning: Buttons and ports can accumulate debris over time, leading to issues. Clean them carefully using compressed air or a soft brush.
- Replacement: If cleaning doesn’t work, you may need to replace the faulty buttons or ports. Replacement parts can be purchased online, and installation typically requires disassembling the phone.
9. Overheating
Issue: Overheating can occur due to heavy usage, background processes, or internal issues.
DIY Repair Techniques:
- App Management: Identify resource-intensive apps or processes running in the background and close them to reduce heat generation.
- Cleaning: Overheating can also be caused by dust and debris inside the phone. Cleaning the internal components can help dissipate heat more efficiently.
10. Software Problems
Issue: Software issues can manifest as freezes, crashes, slow performance, or other unexpected behavior.
DIY Repair Techniques:
- Software Updates: Ensure your phone’s operating system and apps are up to date. Manufacturers often release updates to address software issues.
- Factory Reset: As a last resort for persistent software problems, you can perform a factory reset to restore your phone to its original state. This erases all data, so be sure to back up your information first.
Safety Precautions
Before attempting any DIY smartphone repair, it’s crucial to consider safety precautions:
- Back Up Your Data: Ensure your data is backed up to prevent data loss during the repair process.
- Power Off: Always power off your phone before attempting any repair.
- Disconnect the Battery: If possible, disconnect the battery to prevent electrical mishaps.
- Follow Guides: Use reputable repair guides, tutorials, or videos specific to your phone model.
- Anti-Static Measures: Wear an anti-static wrist strap or work on an ESD-safe surface to prevent static discharge that can damage sensitive components.
- Tools and Equipment: Use the appropriate tools and equipment for the repair, and avoid using excessive force or prying tools.
- Warranty Consideration: Be aware that self-repair attempts may void your device’s warranty, so weigh the pros and cons before proceeding.
Conclusion
Understanding the inner workings of your smartphone can help you handle minor issues and extend your device’s life. While some problems are simple enough for DIY fixes, others require specialized skills and tools. In such cases, it’s best to go for quality phone repairs with warranty to ensure your phone is properly restored and protected. If you’re not confident in performing repairs yourself, trust the experts at Pro Phone Repairs in Albuquerque for fast, reliable, and guaranteed service.