Accidents happen, and one of the most common mishaps smartphone users face is a cracked screen. Whether it’s a minor hairline fracture or a full-blown shattered display, a damaged screen can be frustrating and disrupt your daily life. Fortunately, replacing a cracked smartphone screen is a feasible DIY project that can save you money compared to professional repair services. In this step-by-step guide, we will walk you through the process of replacing a cracked smartphone screen, helping you restore your device to its former glory.
Before You Begin
Before you dive into replacing your cracked smartphone screen, there are a few essential considerations to keep in mind:
- Assessment: Examine the extent of the damage. If the touchscreen is still responsive and only the glass is cracked, you can consider a glass-only replacement. However, if the touchscreen is unresponsive or the LCD is damaged, you’ll need to replace the entire screen assembly.
- Parts and Tools: Make sure you have all the necessary replacement parts and tools. You’ll typically need a replacement screen, adhesive strips, small screwdrivers, prying tools, and a heat gun or hairdryer.
- Backup: Back up your smartphone’s data before starting the repair process. This precaution ensures that you don’t lose any important information during the repair.
- Work Area: Find a clean, well-lit workspace with ample room to spread out your tools and parts. A clutter-free environment will make the process smoother.
- Safety Precautions: Ensure you’re wearing safety glasses to protect your eyes from glass shards during the repair.
Now, let’s proceed with the step-by-step guide to replacing your cracked smartphone screen:
Step 1: Power Off and Remove the Battery (if possible)
- Start by turning off your smartphone to prevent any electrical hazards during the repair.
- If your smartphone’s battery is removable, take it out to eliminate any power source.
Step 2: Disassemble the Device
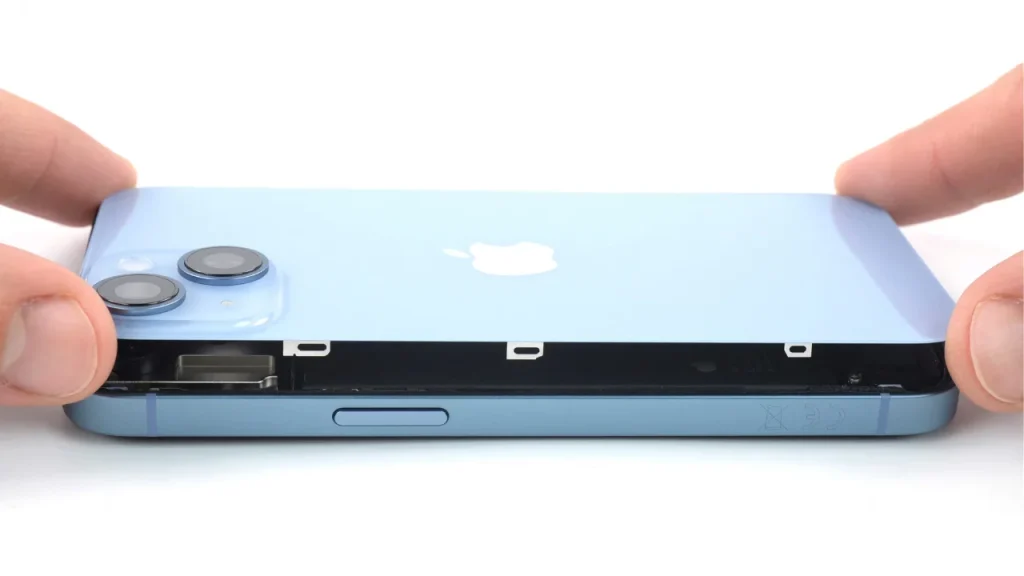
- Carefully remove the back cover and any screws securing the device’s frame. Refer to your smartphone’s user manual or online tutorials for specific disassembly instructions.
- Keep track of the screws and their locations to ensure you can reassemble the device correctly.
Step 3: Separate the Damaged Screen
- Use a heat gun or hairdryer to gently warm the edges of the cracked screen. This will soften the adhesive holding the screen in place.
- Insert a plastic prying tool between the screen and the device’s frame. Slowly and carefully work your way around the edges to separate the screen from the device.
- Be patient and avoid using excessive force to prevent further damage.
Step 4: Remove the Old Screen
- Once the screen is sufficiently separated, lift it away from the device.
- Pay attention to any flex cables or connectors that may still be attached to the screen. Carefully disconnect them to fully remove the old screen.
Step 5: Prepare the New Screen
- Unbox your replacement screen and ensure it matches the model and type of your damaged screen.
- If the replacement screen doesn’t come with adhesive pre-applied, use double-sided adhesive strips to secure it to the device’s frame. Make sure the adhesive is evenly applied along the edges.
Step 6: Connect the New Screen
- Carefully reattach any flex cables or connectors to the new screen.
- Gently lower the new screen onto the device’s frame, aligning it precisely with the openings and screw holes.
Step 7: Reassemble the Device
- Reattach the screws and frame components in the reverse order of disassembly. Consult your smartphone’s manual or online guides for specific instructions.
- Ensure all components fit snugly and securely.
Step 8: Power On and Test
- Reinsert the battery (if applicable) and power on your smartphone.
- Test the new screen to ensure it responds to touch and displays properly.
- If you encounter any issues, double-check your connections and assembly.
Step 9: Restore Data
- If your device functions correctly with the new screen, proceed to restore your data from the backup you created earlier.
- Ensure that all apps and settings are functioning as expected.
Step 10: Clean and Protect
- Clean your new screen thoroughly to remove any fingerprints or residue.
- Consider applying a screen protector to prevent future damage.
Conclusion
Replacing a cracked smartphone screen may seem daunting, but with patience, the right tools, and careful attention to detail, it’s a manageable DIY project that can save you a considerable amount of money. By following this step-by-step guide, you can breathe new life into your damaged device and enjoy a clear, unblemished screen once again.
However, if you’re unsure about doing it yourself or run into complications, don’t hesitate to get professional help. Local experts who repair cracked iPhone in ABQ can quickly and safely restore your device, sometimes even the same day.


